


we specialize in creating beautifully crafted gift hampers for every occasion. Whether you’re celebrating a birthday, Valentine’s Day, Easter, or simply want to send a heartfelt gift, our wide range of gift hampers is designed to bring joy to your loved ones.
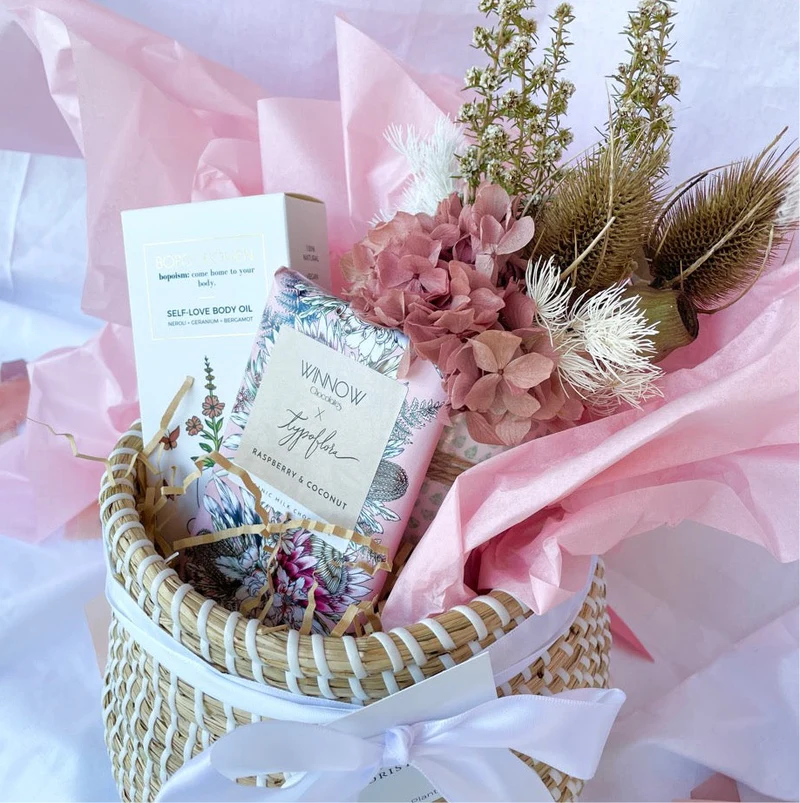
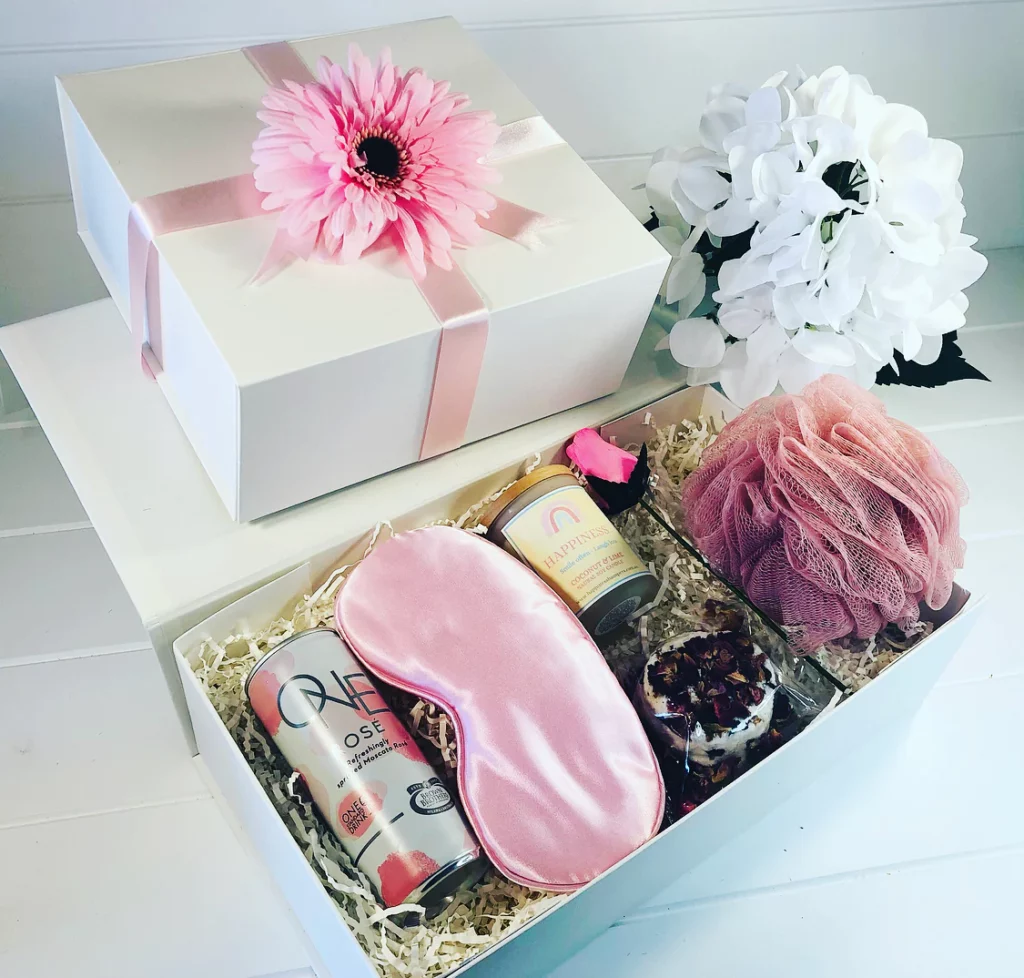
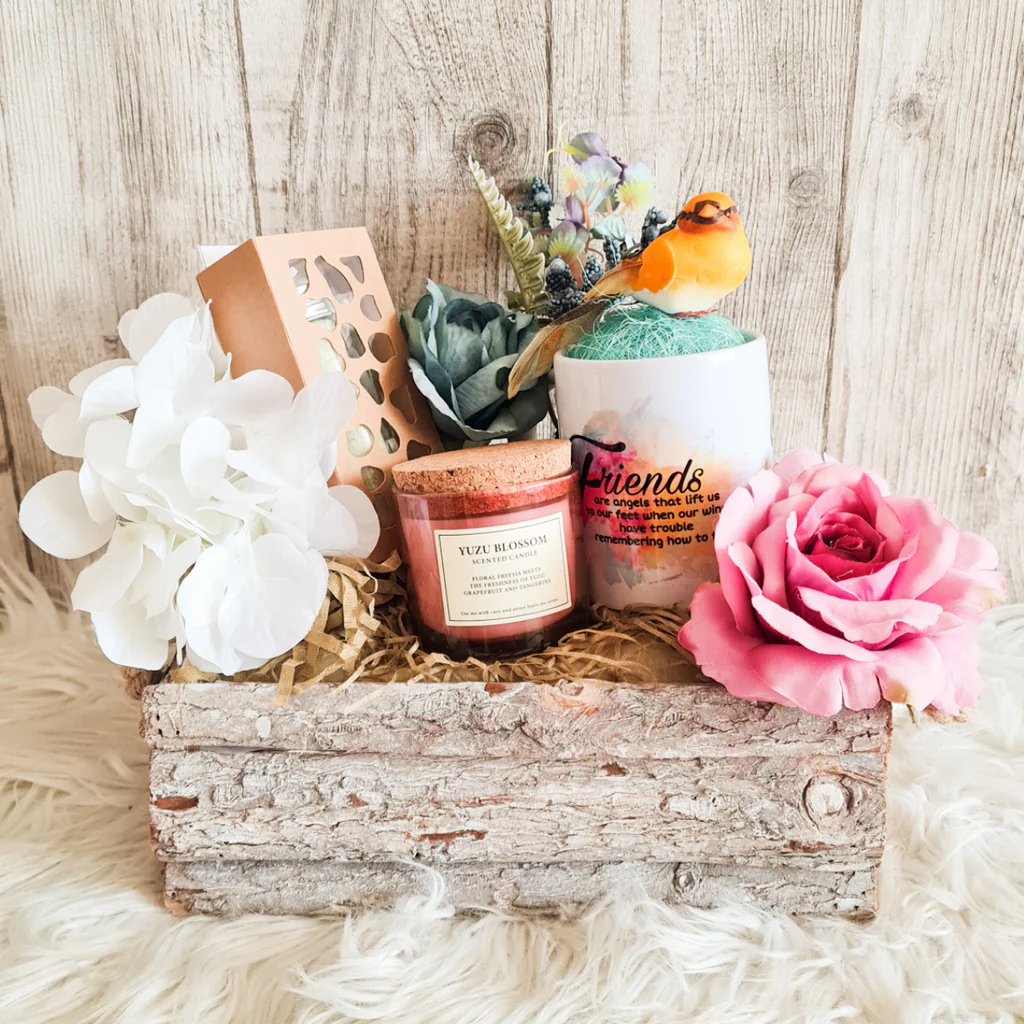
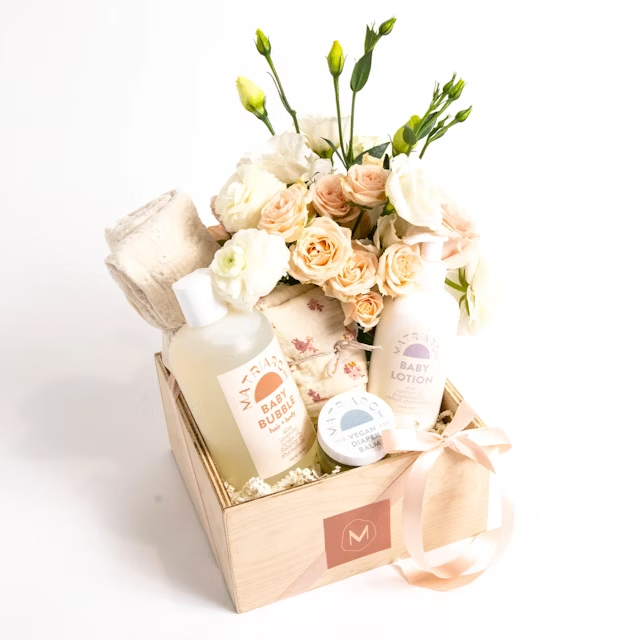
Every hamper is thoughtfully designed with a combination of treats, gifts, and products that make each one special.
Add a personal touch with a custom message or tailored hamper to make your gift even more meaningful.
We focus on offering premium products, ensuring that every hamper is filled with high-quality, carefully selected items.
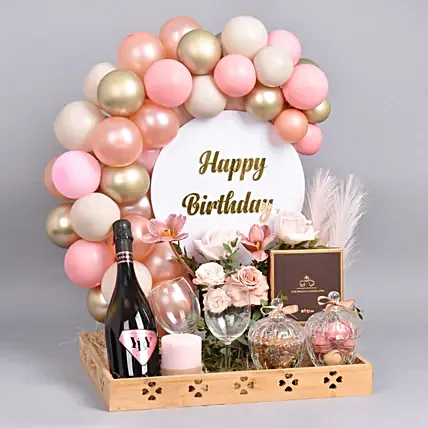
"I ordered a birthday hamper for my sister, and she absolutely loved it! The presentation was beautiful, and the products were top-notch. It was delivered on time in Sydney, and the customer service was fantastic. I will definitely be ordering again!"
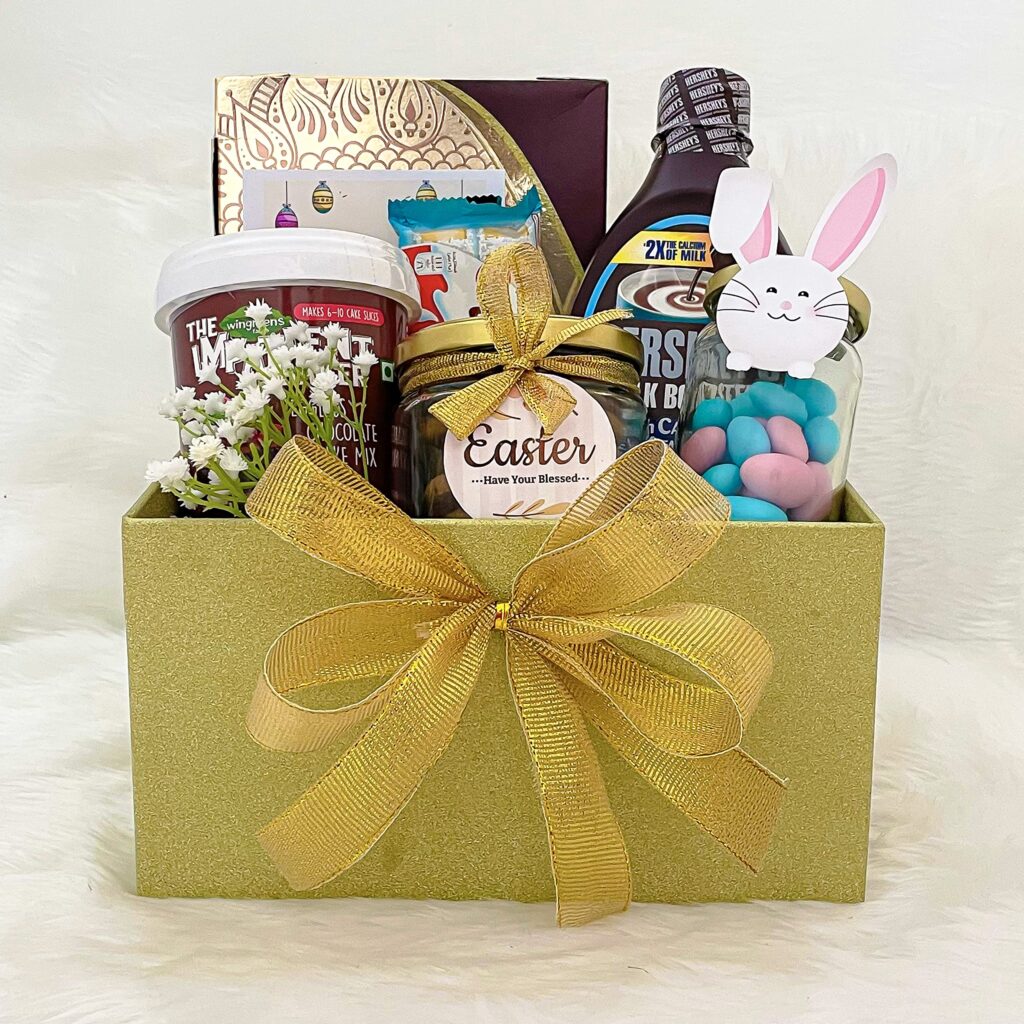
"We ordered a few Easter hampers for our family gathering, and they were a hit! The hampers were filled with delicious treats and came beautifully packaged. Everyone loved them, and they added a special touch to our Easter celebrations."
Make birthdays extra special with our unique birthday gift hampers. Each one is filled with handpicked items that suit all tastes and preferences. Whether it’s a thoughtful treat or a luxurious surprise, we have the perfect hamper to make your loved one’s birthday unforgettable.
Celebrate the joy of Easter with our delightful Easter gift hampers. Filled with festive goodies, chocolates, and treats, our hampers bring warmth and cheer to your Easter celebrations. Perfect for families, friends, or colleagues, our Easter hampers offer something for everyone.
Show your love with our romantic Valentine’s Day hampers. Designed to sweep your loved one off their feet, these hampers include everything from decadent chocolates to luxurious pampering products. Let us help you create a truly memorable Valentine’s Day with our carefully curated gifts.
Get in touch with us today, and we’ll be happy to help make your gifting experience effortless and enjoyable.